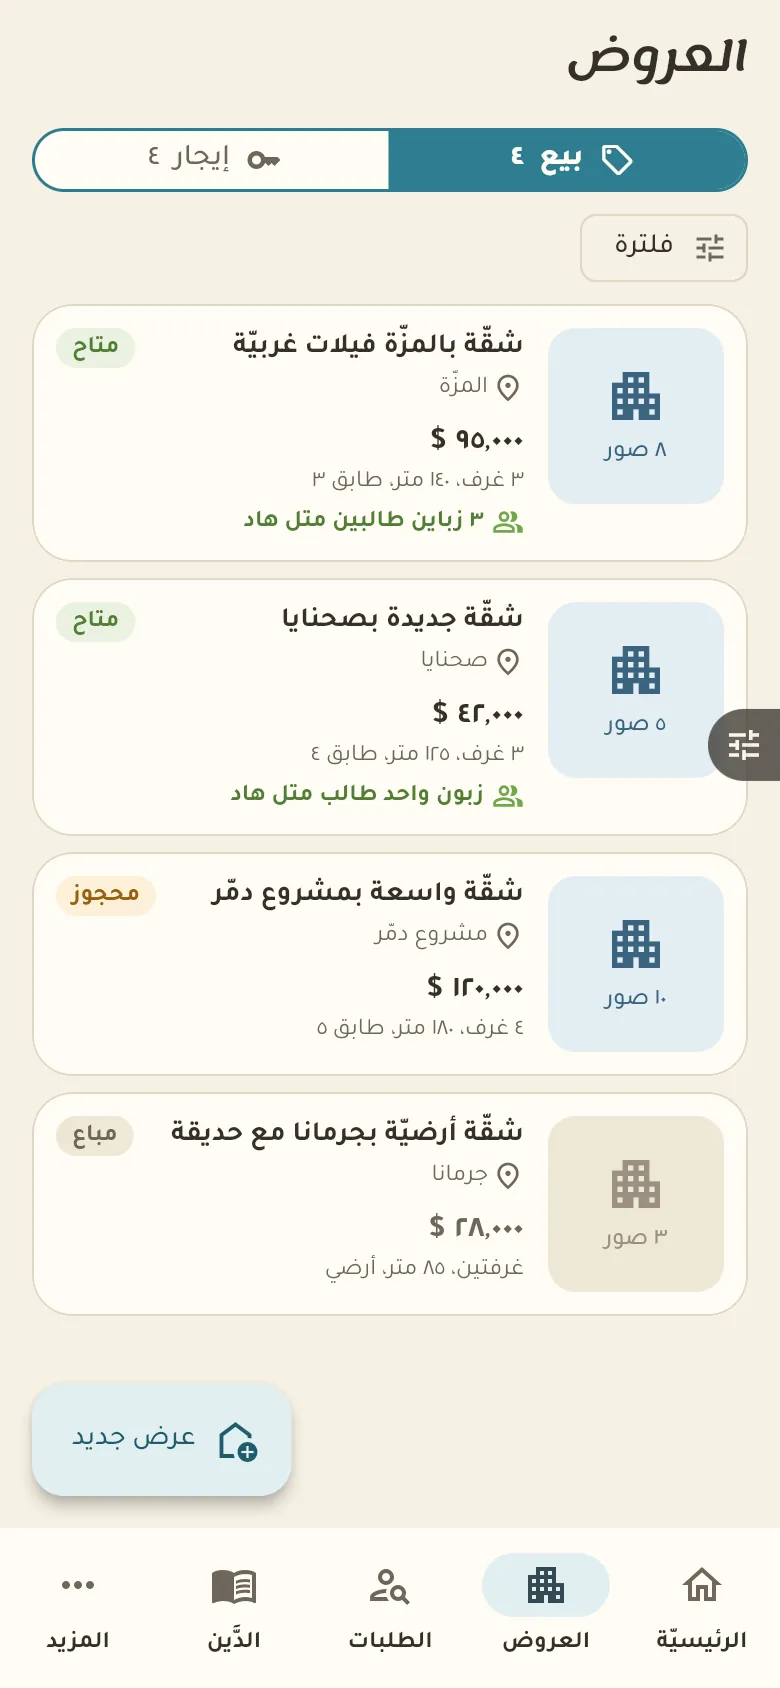
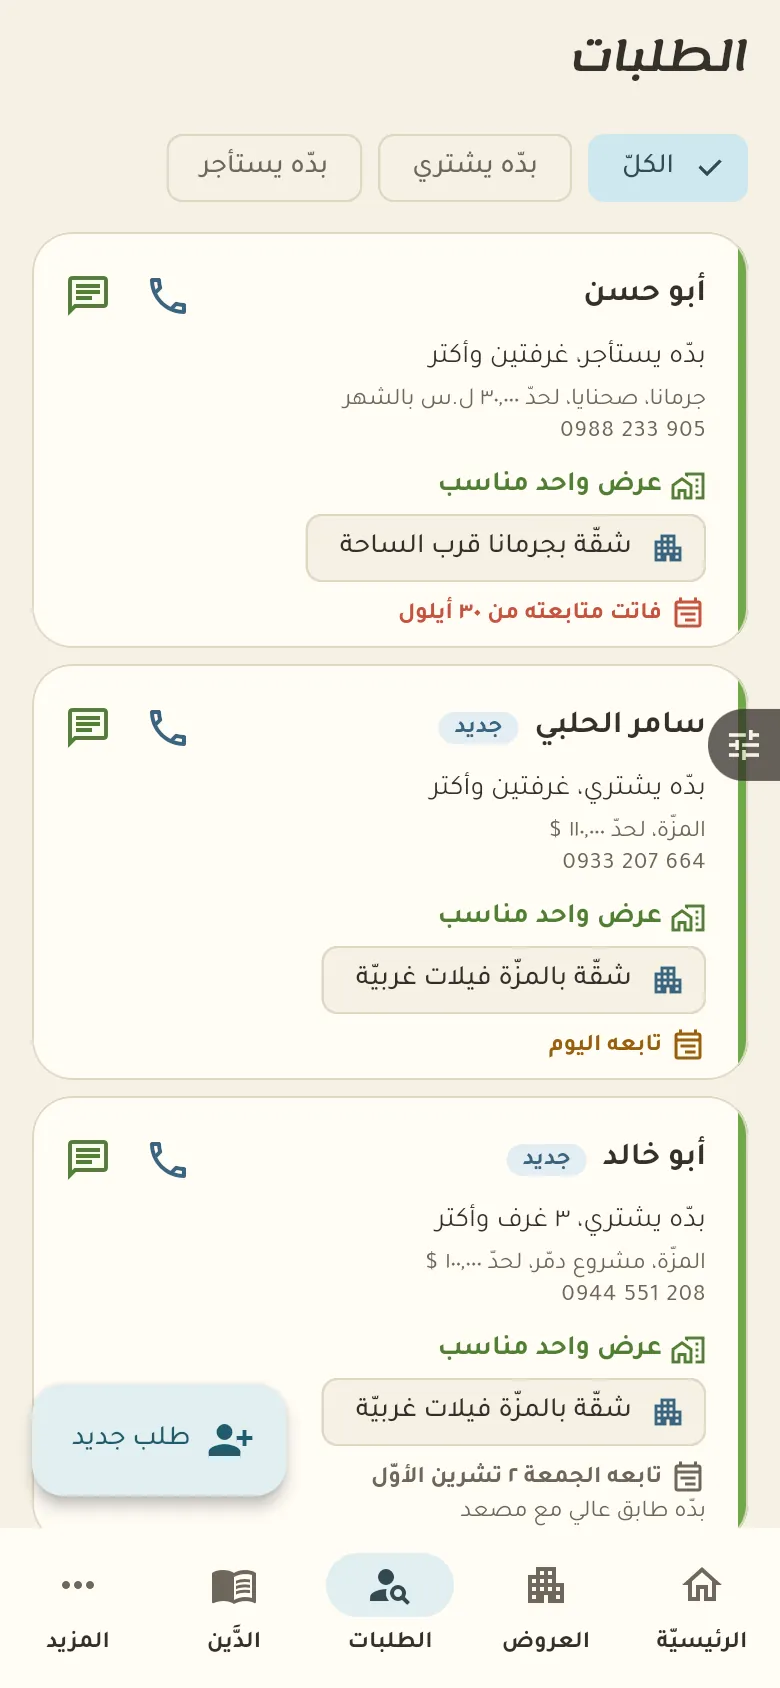
Learn Real estate Sale and rent listings with photos, area and status, client requests and the month's commission.
Last updated: 7 November 2026 · 10 chapters · 11 steps · The Real estate page →
Pick up where you left off: Resume ▶
← Previous ▶ Play Next → Speed ×1 0:00 Opening the account and creating the office 2:17 Home: your office at a glance 3:51 Listings and filters 5:35 Adding a new listing 7:40 The listing page 9:22 Requests: what searchers want 10:59 Booking viewings and their result 12:10 Closing the deal and the commission 14:08 Rent, contracts and deposits 16:29 Real estate office settings
Settings, team, printing, subscription and everything in More are shared by every business type and have one detailed video →
Step by step Press any step (or scroll) and the phone shows its screen.
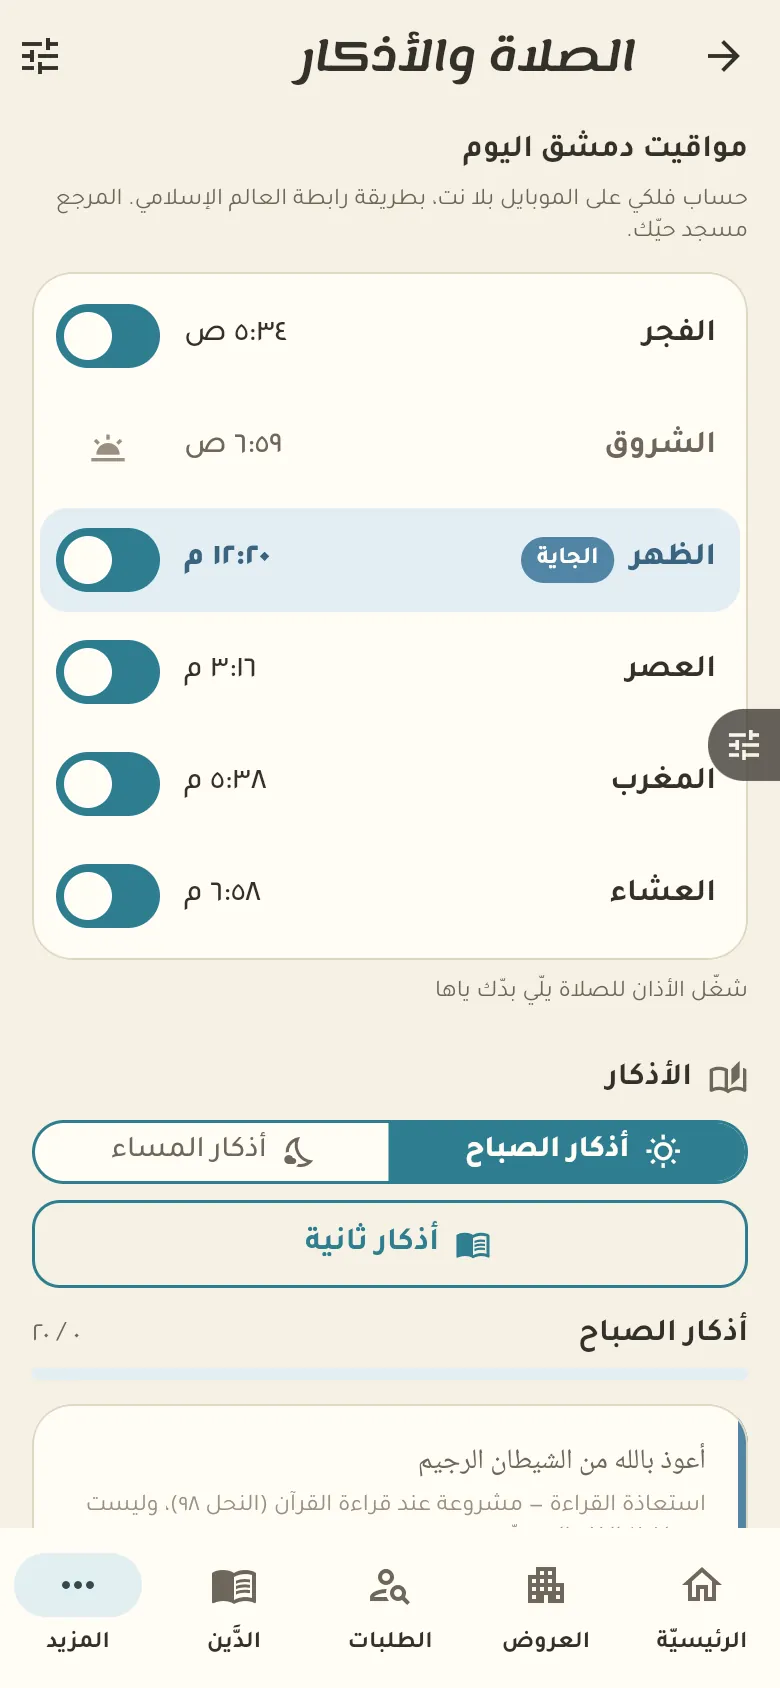
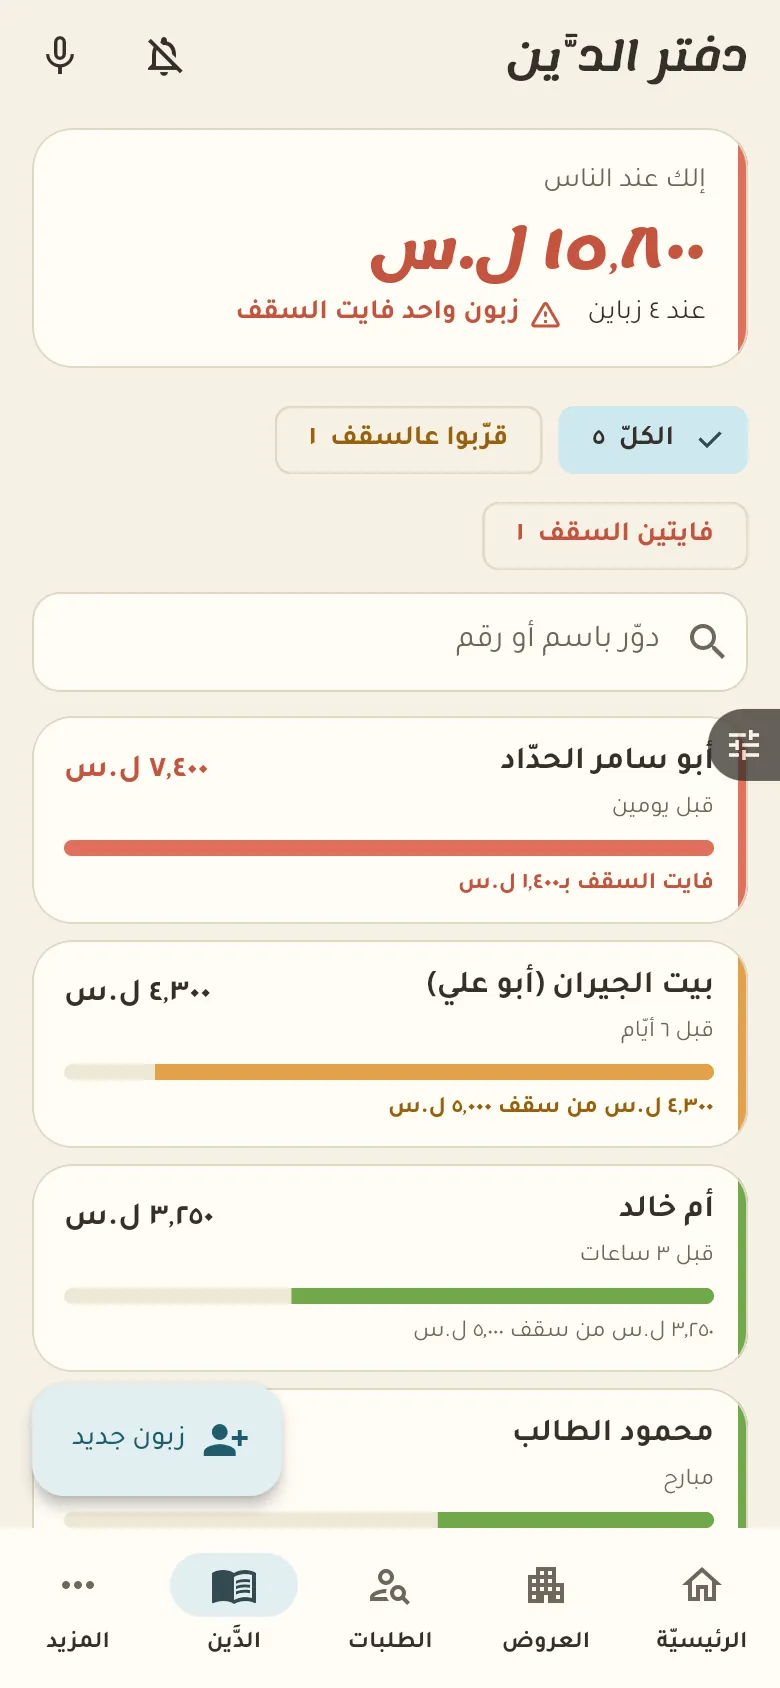
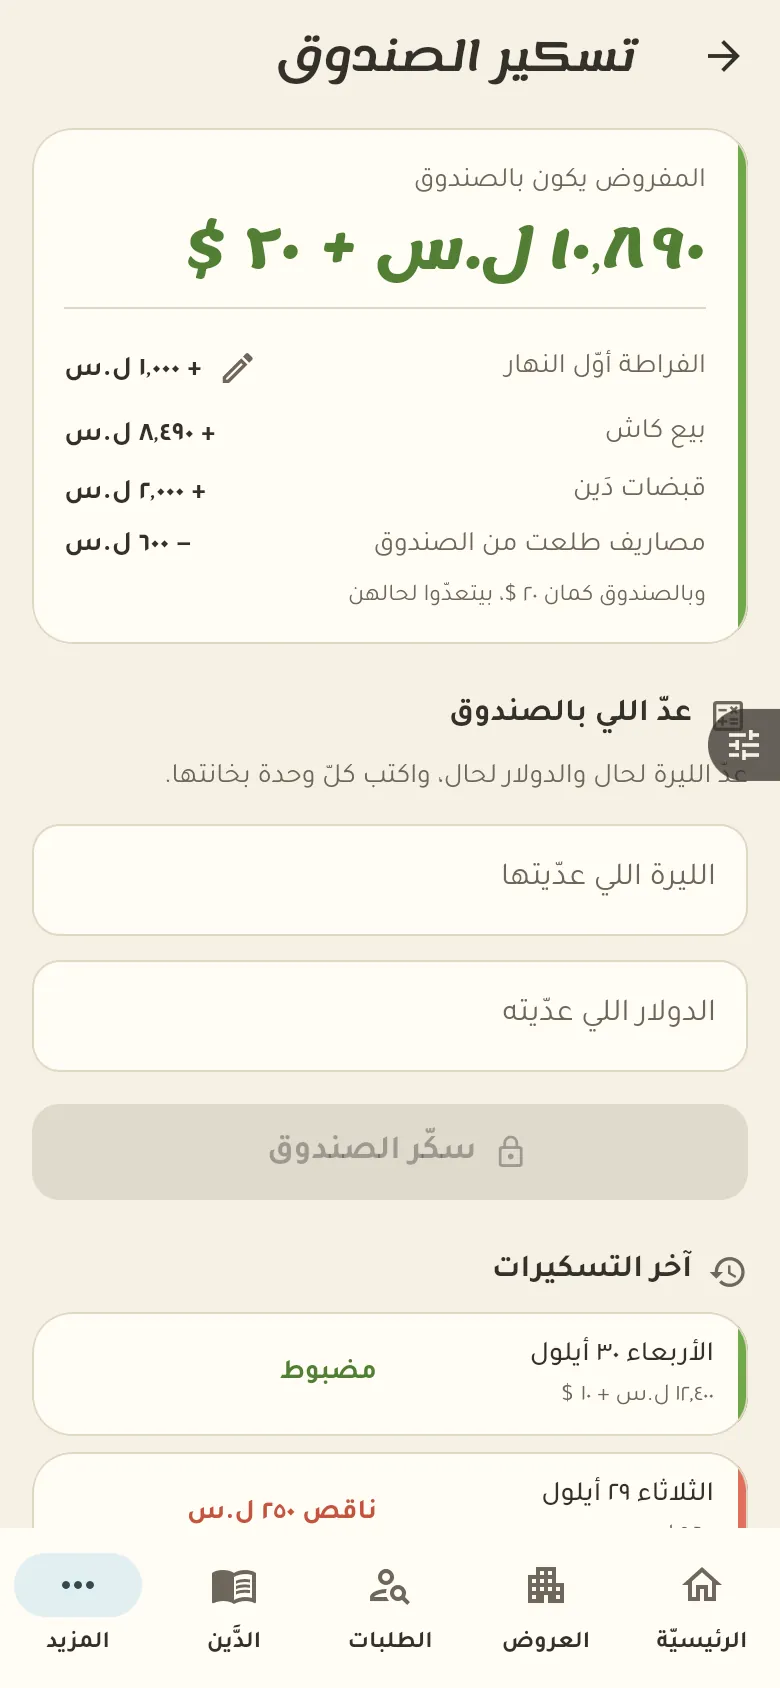
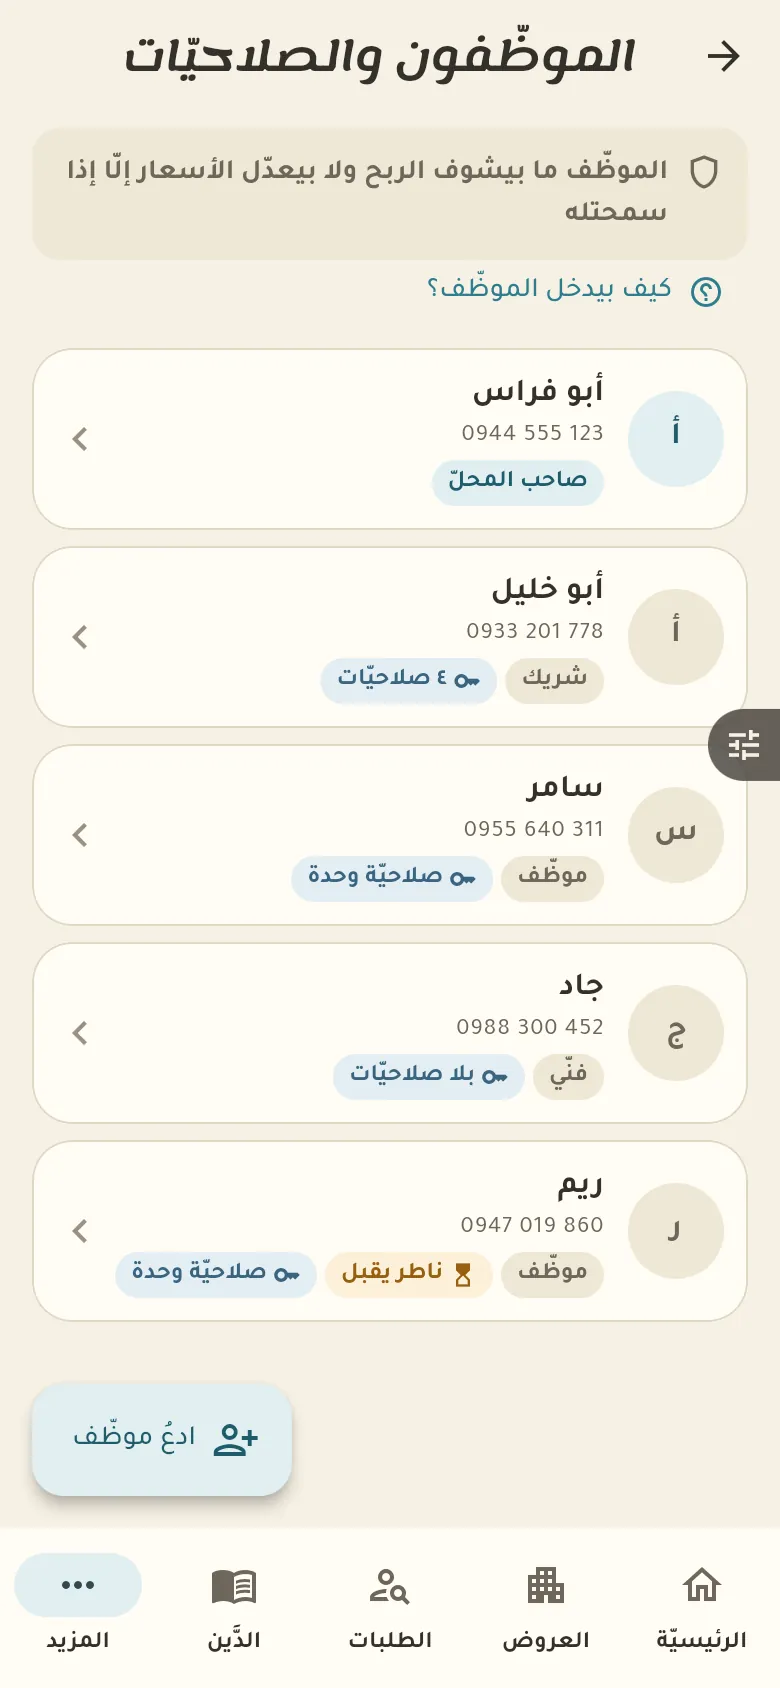
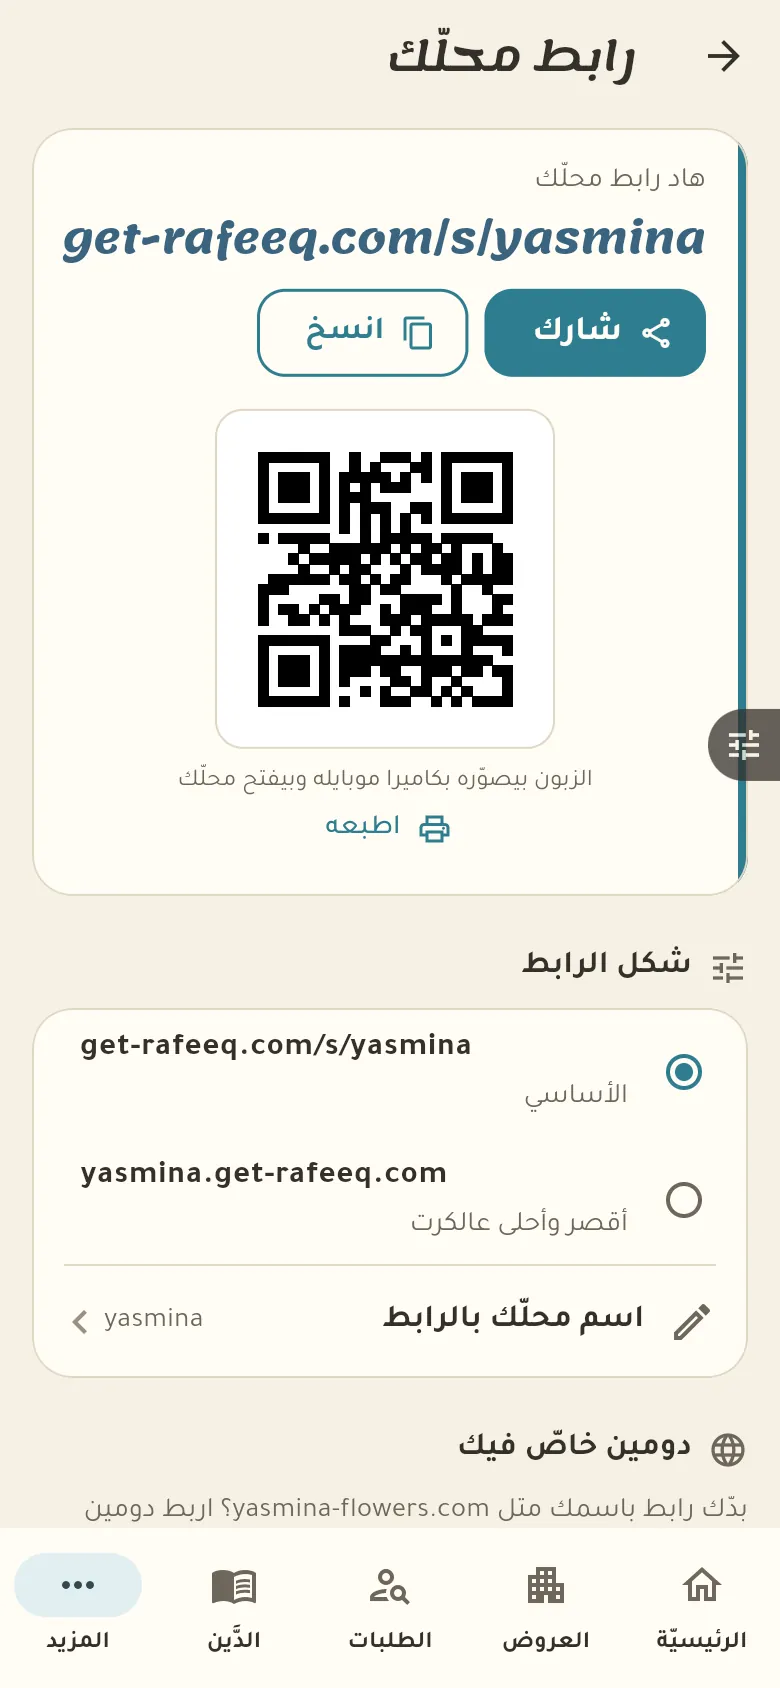
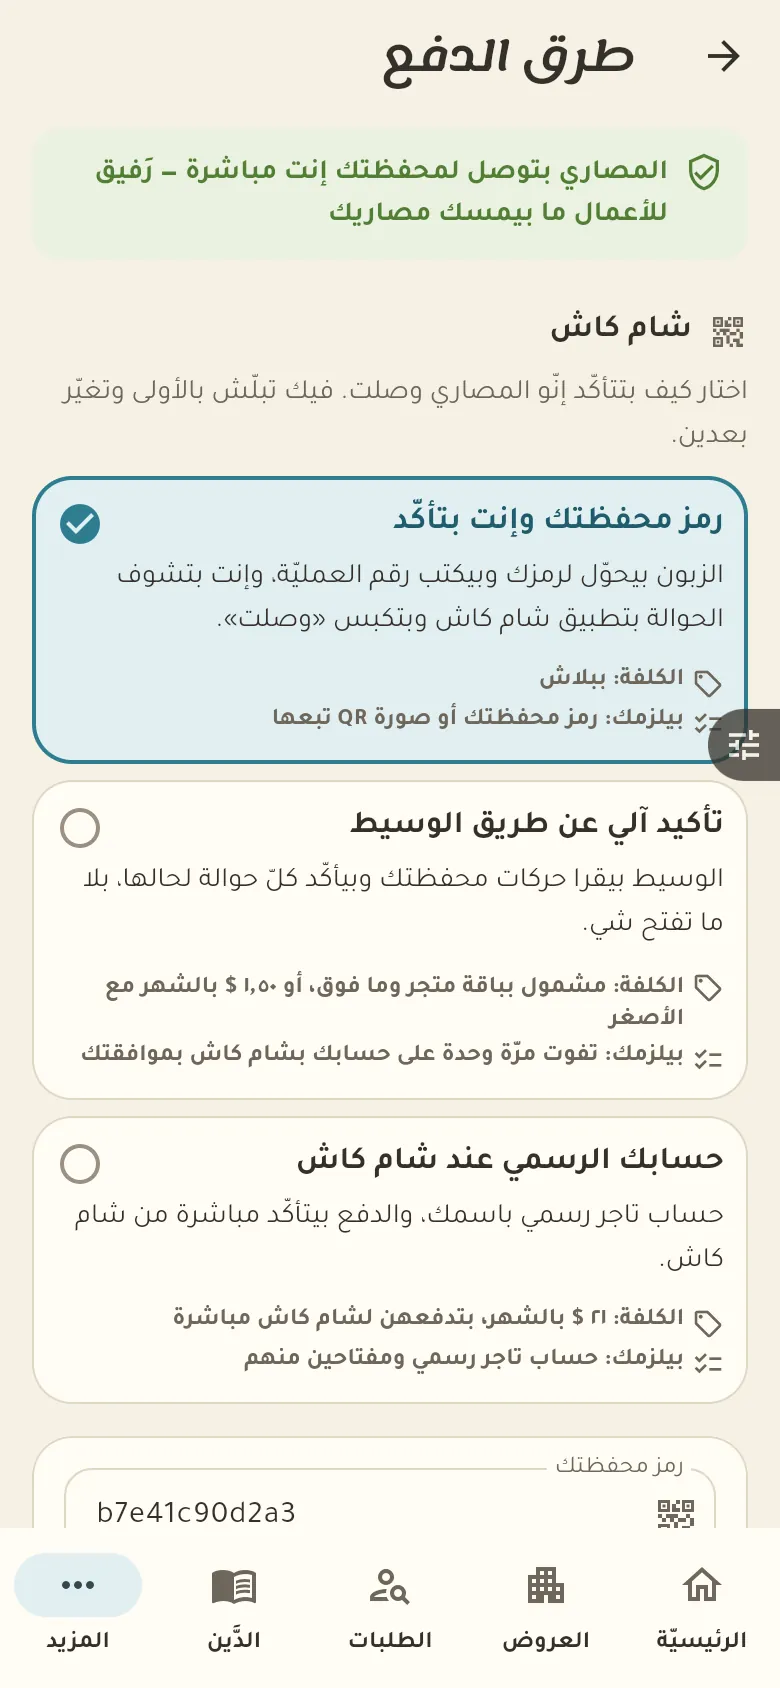
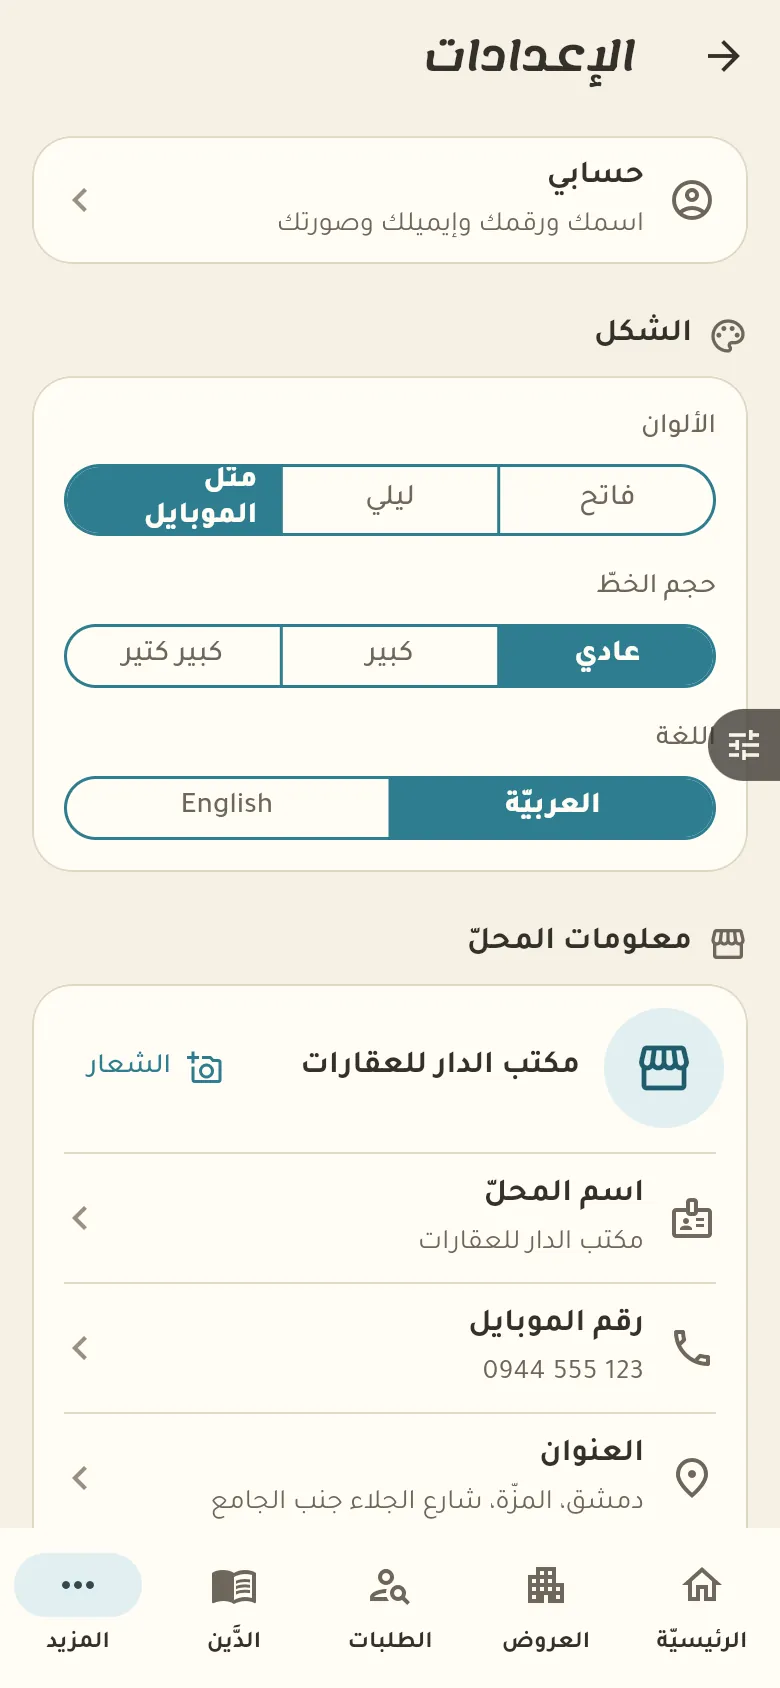
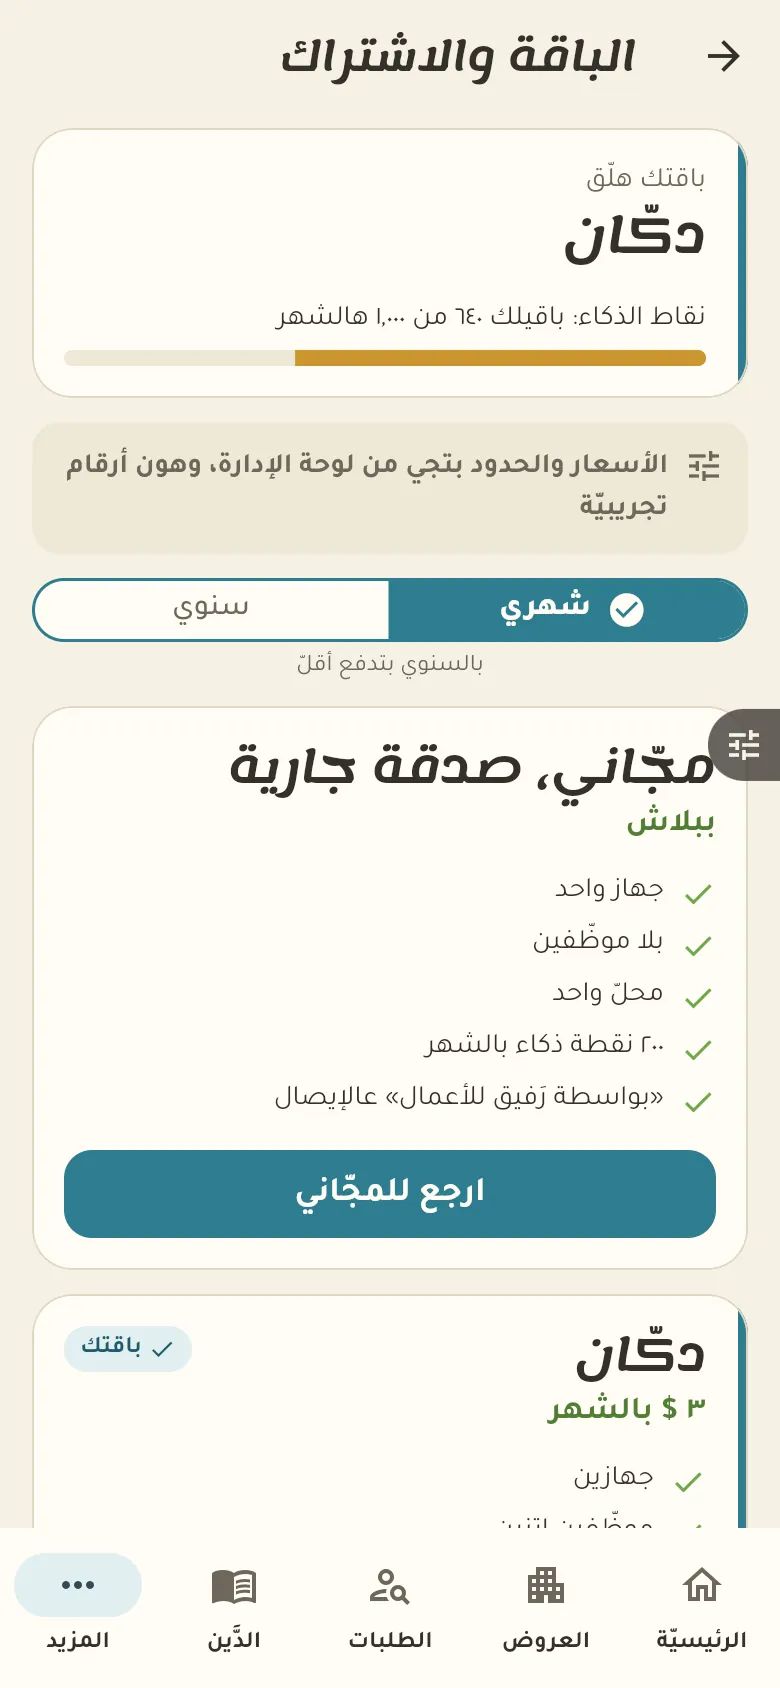
1 Home and the bottom barNew This is your home screen: a summary of your day. The bar at the bottom moves you between the sections of your shop, and «More» at its end opens everything else. 2 ListingsNew Here are the properties you offer for sale or rent with their photos, prices and status. Switch the status between «Available», «Reserved» and «Sold», and archive what's finished. 3 Your first listingNew Let's add your first listing now. Type its title, type and price, then add photos and pin its location on the map so searchers see it precisely. 4 Requests and commissionNew Record here what searchers are asking for, and Rafeeq matches it against your listings. When a deal closes the commission is worked out from your settings and recorded in your books. 5 Credit and the credit limitNew This is the credit book: who owes how much, and their last movement. The owner sets a limit for each customer; Rafeeq warns you as they near it, and past the limit a credit sale needs approval. 6 The cash drawer and closing itNew Open the drawer in the morning with the change in it, and close it at night by counting what's inside. Rafeeq compares your count to what it should be and shows the difference. 7 Staff and permissionsNew From here you add a staff member by inviting their phone number, and choose what they can see and do. A new staff member has no permissions by default, and you grant what you want. 8 Your shop page and its linkNew Your shop has a web page that customers open from a link. Pick the link name, share it on WhatsApp and your accounts, and customer orders will arrive straight in the app. 9 Payment methodsNew Choose how customers pay on your shop page: ShamCash, cash on delivery, or credit. You decide what's offered, and you confirm every payment before it counts. 10 Backup and devicesNew Your data is saved on our server automatically, so it isn't lost if your phone is. «Sync now» uploads anything pending, and below it you see the devices on your account and can remove an old one. 11 Your plan and voucher codeNew Here is your current plan with its devices, staff and AI points. If you have an activation or discount code and the code box is open for your account, you'll find it lower down on this page; you can upgrade whenever you need. A screenshot taken automatically from the app
On a computer or in the browser If your phone is not at hand, open Rafeeq Business in the browser and sign in with the same number: the same cashier and the same steps.